
Understanding Vapor Barrier Installation
A vapor barrier is a crucial element in maintaining a healthy and energy-efficient building environment. By controlling moisture levels within your home or structure, a vapor barrier helps prolong the lifespan of materials, enhance indoor air quality, and improve energy efficiency. Whether you’re constructing a new home or considering renovations, understanding the importance and installation of a vapor barrier is essential. This comprehensive guide will delve into vapor barrier installation—its purpose, methods, benefits, and common challenges. For detailed information on how to conduct a vapor barrier installation, refer to Vapor Barrier Installation.
What is a Vapor Barrier?
A vapor barrier is a material designed to resist moisture diffusion. Typically made from polyethylene plastic film, foil, or other water-resistant materials, these barriers are placed in strategic locations to prevent moisture from passing through walls, ceilings, and floors. Vapor barriers differ in thickness and material type, depending on their specific use cases, such as crawl spaces, basements, or insulation systems.
Importance of Vapor Barrier Installation
The importance of vapor barrier installation cannot be overstated. Properly installed vapor barriers play a preventive role in shielding your building against various moisture-related issues. Key benefits include:
- Preventing mold and mildew growth, which thrive in damp environments and can affect health.
- Protecting structural integrity by minimizing rot or damage to wooden frames and foundations.
- Enhancing insulation effectiveness, leading to lower heating and cooling costs.
Common Materials Used
When it comes to vapor barrier installation, several materials are commonly utilized:
- Polyethylene Plastic (PE): The most common choice, available in various thicknesses (usually 6 to 10 mils), ideal for crawl spaces and basements.
- Foil: Often used for more specialized applications, foil serves as a radiant barrier and can reflect heat.
- Liquid Vapor Barriers: These are applied directly to surfaces, creating a seamless waterproof coating, suitable for walls and above-grade installations.
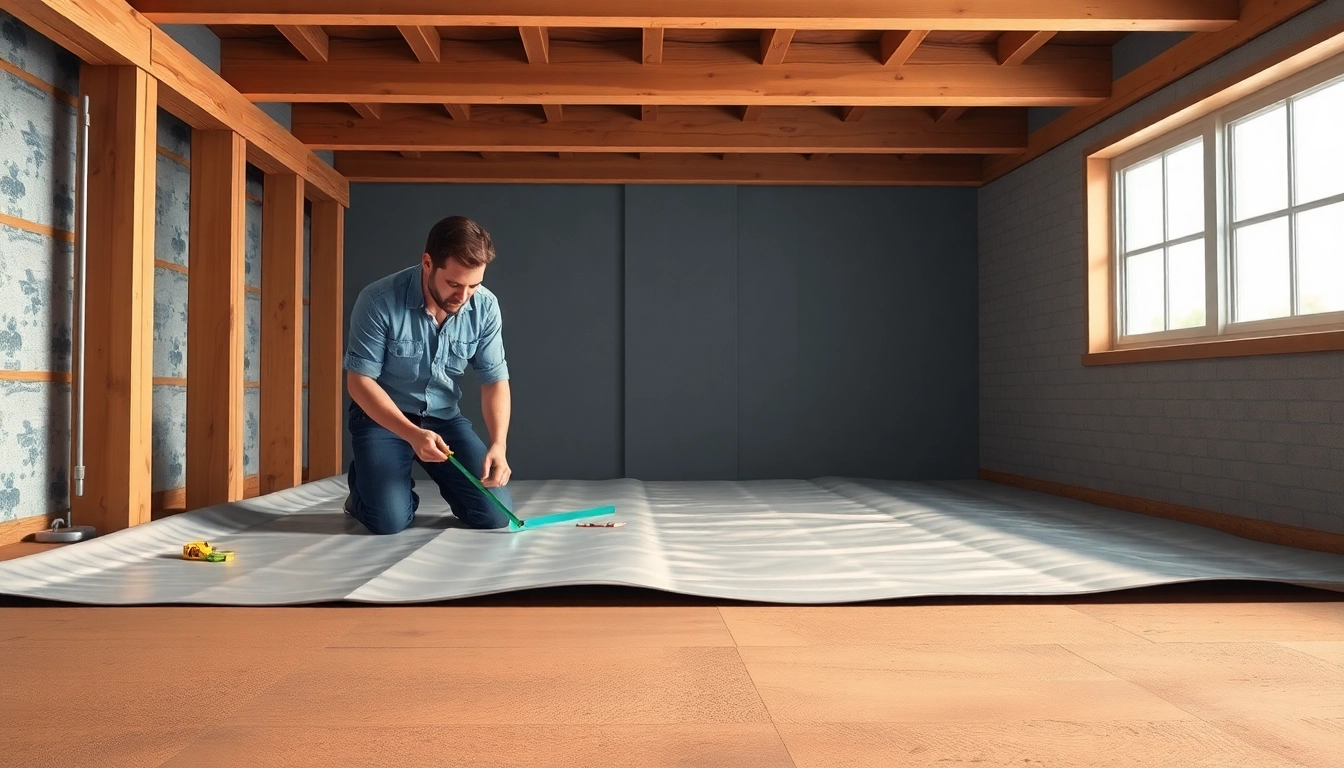
Vapor Barrier Installation Methods
Installing a vapor barrier requires careful planning and execution. Understanding the various methods can help ensure effective application.
Step-by-Step Installation Process
- Evaluate the Installation Area: Assess the area where the vapor barrier will be installed. Check for potential moisture sources, grading issues, and existing insulation.
- Choose the Right Material: Based on the specific conditions of the installation site, select an appropriate vapor barrier material.
- Prepare the Site: Clear any debris or obstructions from the surface where the vapor barrier will be placed. Ensure that the surface is dry and clean.
- Lay the Barrier: Begin laying the vapor barrier from one side of the area to the other, overlapping seams by at least 12 inches.
- Secure the Barrier: Use tape specifically designed for vapor barriers at seams and edges to prevent moisture ingress.
- Trim Excess Material: Once secured, trim any excess material to ensure a clean, finished look.
Tools Required for Installation
While the installation process of a vapor barrier can be straightforward, having the right tools on hand makes the job easier. Common tools include:
- Utility knife for cutting the barrier material
- Measuring tape for accurate measurements
- Stapler or tape for securing the barrier to surfaces
- Gloves and knee pads for protection and comfort during installation
Tips for Effective Installation
To ensure a successful vapor barrier installation, consider the following tips:
- Always wear protective gear when handling vapor barrier materials to avoid injuries.
- Take measurements accurately to minimize waste of materials.
- Inspect the installation area regularly for any signs of moisture or damage, addressing issues promptly.
Benefits of Vapor Barrier Installation
Incorporating a vapor barrier in your home or structure offers numerous benefits beyond preventing moisture accumulation.
Preventing Moisture Damage
Moisture can jeopardize a building’s structural integrity and lead to expensive repairs. A vapor barrier serves as an effective deterrent against water penetration, reducing the risk of significant damage over time.
Improving Indoor Air Quality
Moisture fosters mold and mildew growth, which can affect indoor air quality. By installing a vapor barrier, homeowners can substantially reduce the risk of these harmful contaminants, resulting in a healthier living environment.
Energy Efficiency Gains
A properly installed vapor barrier aids in maintaining consistent indoor temperature levels, which can lead to significant energy savings. By minimizing energy loss through drafts and moisture, homeowners can expect lower utility bills.
Common Challenges and Solutions
While the benefits of vapor barriers are clear, installation can present challenges that require effective solutions.
Handling Uneven Ground Surface
Uneven surfaces can make it difficult to lay a vapor barrier properly. To address this, consider using sand or a leveling compound to create a smooth base before installation. This ensures better adhesion and minimizes the risk of tears or punctures.
Dealing with Existing Moisture Issues
If moisture problems are present before installation, it’s essential to resolve these issues first. Implement proper drainage solutions and allow the area to dry thoroughly. Only after ensuring the space is dry should you proceed with vapor barrier installation.
Best Practices for Long-Term Performance
Regular inspections and maintenance are key to ensuring the longevity of your vapor barrier. It’s advisable to check the barrier at least once a year and after significant weather events for any damage or changes in performance.
FAQs About Vapor Barrier Installation
How does vapor barrier installation work?
A vapor barrier works by preventing moisture from passing through walls, ceilings, or floors, creating a controlled environment that minimizes mold and structural damage.
Can I install a vapor barrier myself?
Yes, vapor barrier installation can be a DIY project if you’re comfortable with basic tools and following steps. However, consulting professionals is recommended for optimal results.
Where should a vapor barrier be installed?
A vapor barrier is typically installed in crawl spaces, basements, and behind insulation in walls and ceilings to effectively control moisture levels.
What thickness should a vapor barrier have?
The thickness of a vapor barrier generally ranges from 6 to 10 mils for residential use, with thicker options available for specific environments.
How often should I inspect my vapor barrier?
Inspect your vapor barrier at least once a year, especially after heavy rain or floods, to check for damage or moisture accumulation.